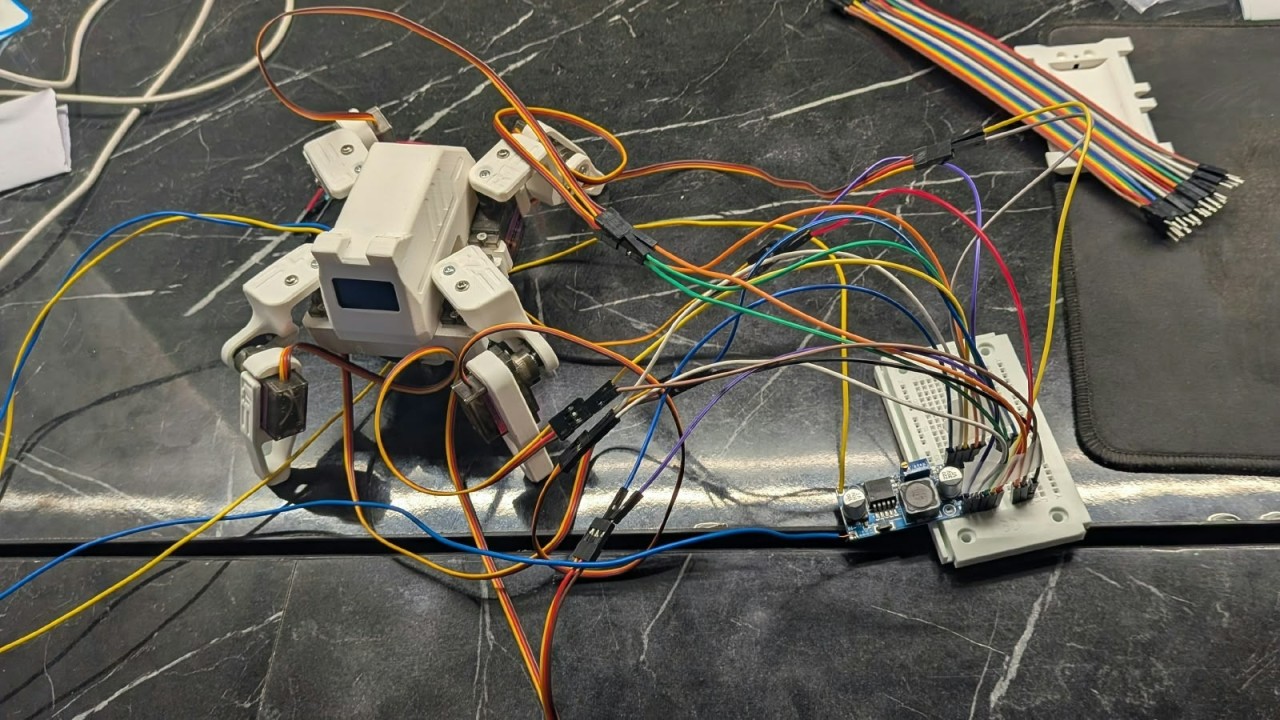
Sesame: building a quadruped, breaking it, and bringing it to life
Rebuilding Dorian Todd's open-source Sesame robot on my own electronics: a month of sourcing, a loose wire, a servo that stopped at 160 degrees, and a robot nicknamed Cockroach.
On this page
Or, how I ended up spending weeks debugging a robot I nicknamed Cockroach.
There's something very satisfying about writing code, running it, and watching it work.
There's also something very humbling about writing code, running it, and watching eight servos do absolutely nothing.
This project had plenty of both.
Meet Sesame, a small quadruped robot based on Dorian Todd's open-source design. Somewhere along the way, we started calling it Cockroach. The name stuck.
I wanted to build a quadruped, but I also wanted to understand what went into making one work. Rather than use the custom PCB from the original design, I decided to put together the electronics myself, figure out the firmware, and modify the 3D-printed body to fit my hardware.
In retrospect, this was a great learning experience.
In the moment, it was occasionally a terrible idea.
1. First, I needed the parts. All of them.#
The electronics stack was built from individual components:
- ESP32-WROOM - the brain.
- PCA9685 - an I2C PWM driver controlling eight micro servos.
- Eight MG90S servos - two for each leg.
- UBEC - to supply the servos with regulated power from the battery.
- SSD1306 OLED - for the face.
Getting all of this together took about a month.
Not because any individual component was particularly exotic, but because sourcing components is its own little engineering project. I ordered things that turned out to be wrong for what I needed, ordered replacements, and spent more time than I'd like to admit waiting for parts.
Eventually, the boxes arrived. I had a pile of electronics, a 3D-printed body, and a fairly ambitious idea of what was supposed to happen next.
Time to build.
2. The electronics worked. The robot? Not quite.#
The original firmware wasn't written for my PCA9685 setup, so I had to rework the servo-control logic to communicate with the driver over I2C.
The mechanical side needed some attention too. I edited the STL files to accommodate my electronics layout and redesigned the top cover around the new arrangement.
This is one of the things I enjoyed most about the project. The hardware, firmware, and mechanical design weren't separate problems. Changing one often meant revisiting another.
A board that doesn't fit means changing the body. A leg that hits the chassis means looking at the geometry and the motion. A servo that doesn't reach its intended angle means the firmware might need a rethink.
And then there were the bugs.
The first particularly ridiculous one was a loose 5V wire sitting inside a screw terminal.
The power LED was on. Everything looked fine. The servos, however, refused to move.
I spent time investigating the electronics before realizing that the wire simply wasn't secured properly.
No complicated algorithm. No obscure firmware issue. Just a screw terminal I hadn't tightened enough.
I would love to say that was the last time the robot humbled me.
It wasn't.
3. Why is 90 degrees fine, but 180 degrees isn't?#
One of the more interesting problems showed up during servo testing.
The servos behaved perfectly when commanded between 0° and 90°. But anything above 90° had a problem: commands in the 90°–180° range resulted in physical movement only up to about 160°.
That missing range doesn't sound like much until you have four legs trying to follow a coordinated set of poses.
The robot looked lopsided. Some legs weren't reaching their intended positions, and poses that looked perfectly reasonable in the firmware didn't look quite so reasonable in real life.
The fix was to add a small scaling function that remapped the commanded 90°–180° range to the effective 90°–160° range before passing the angle to the servo driver.
In other words, the firmware needed to account for what the servos were actually doing, rather than blindly trusting the commanded angle.
Once I corrected that mapping, the poses started looking right.
There were still jittery servos to deal with, and one leg had a habit of colliding with the chassis. Getting the robot to move wasn't just a matter of sending the right angles. The movements had to make sense together, within the physical limits of the robot.
The video above is a good reminder of what the robot looked like when things weren't working properly. I wanted to keep that part of the build, because the failures were often more instructive than the successful tests.
It's easy to show a robot walking. It's more interesting to understand why it wasn't walking properly in the first place.
4. Taking Cockroach to the science expo#
Eventually, I got Sesame to a point where I could present it at our college science expo.
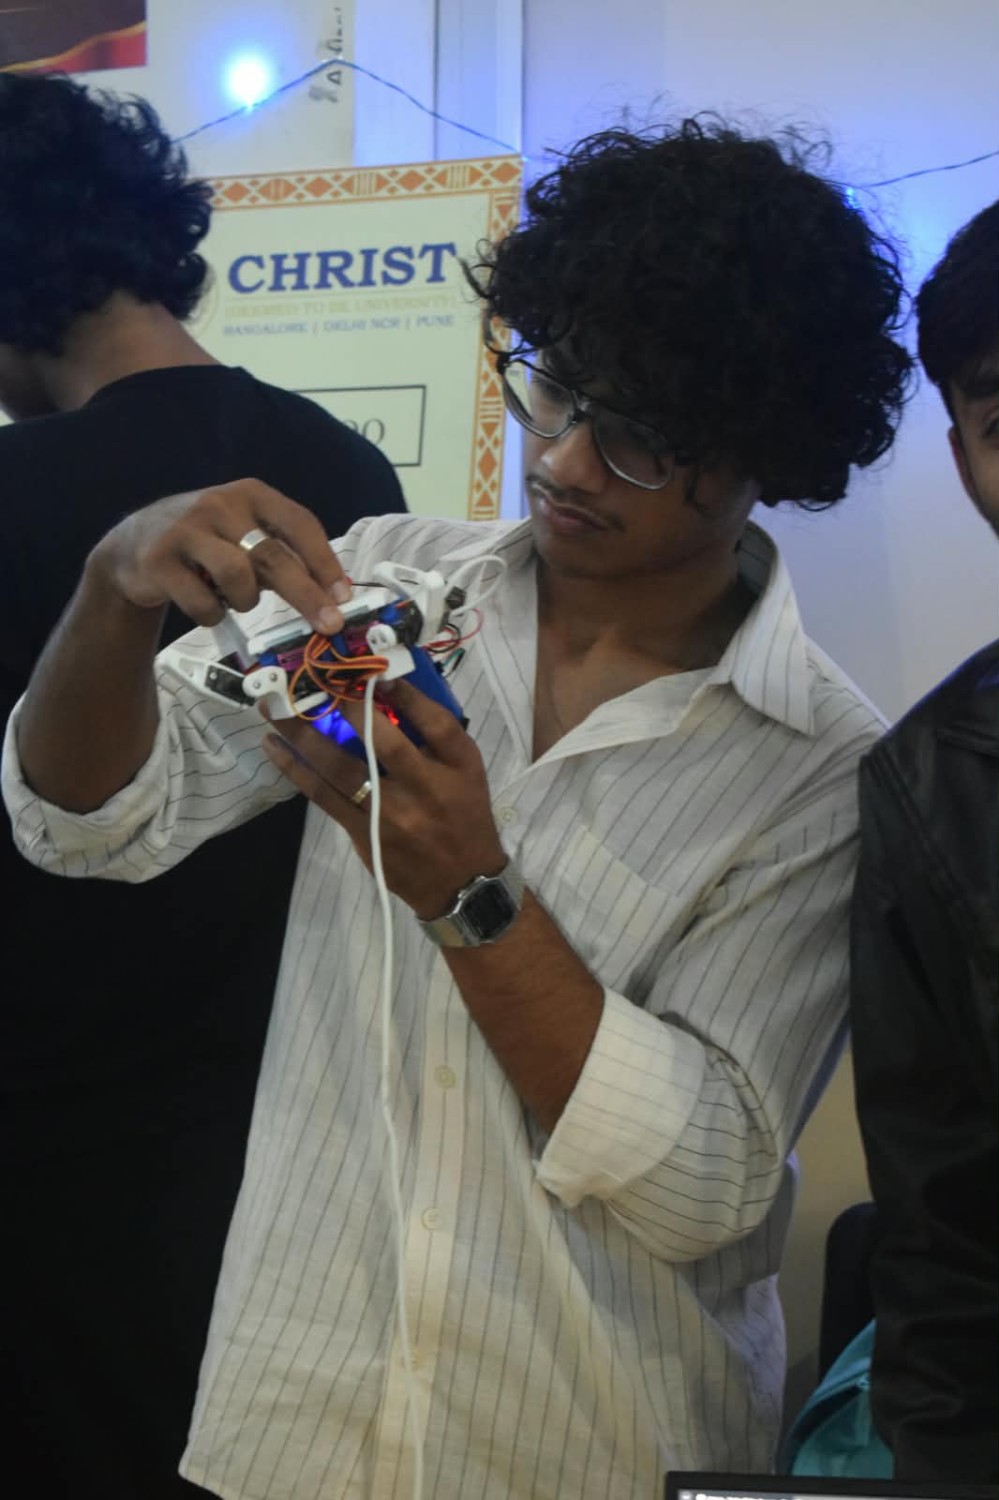
Seeing a project move from a collection of parts on a desk to something I could actually present was a satisfying milestone.
It also gave me a reason to step back and appreciate how much had gone into the build. The electronics, the mechanical modifications, the firmware changes, and all the debugging had each contributed to getting it there.
Of course, I wasn't done experimenting with it.
5. Giving it a voice#
After the expo, I added a microphone and speaker to explore voice interaction with the robot.
This was a later addition, rather than something I demonstrated at the expo. I wanted to take Sesame beyond servo-controlled movement and start experimenting with how I could interact with it.
It opened up another set of questions around integrating the hardware and software into one system. The quadruped was no longer just about getting the legs to move correctly; it was becoming a platform I could keep extending.
And that's probably what I like most about building things this way. Getting a prototype working doesn't have to be the end of the project. It gives you something real to experiment with next.
6. What I took away from the build#
Before this project, it was easy to think of robotics as a collection of familiar subproblems: write some firmware, connect the electronics, design the mechanical parts, and put everything together.
Building Sesame made the connections between those pieces much more tangible.
A software command has to become a physical movement. That movement has to respect the mechanics of the robot. The electronics have to deliver the power and signals reliably enough for any of it to happen.
And when something goes wrong, the problem isn't always where you expect it to be.
Sometimes it's a loose wire. Sometimes it's an angle-mapping function. Sometimes the leg is literally hitting the body you designed for it.
You learn to test, observe, question your assumptions, and try again.
I'm still interested in exploring what else I can do with Sesame, particularly as I move further into robotics and systems that connect software with the physical world.
For now, I'm happy that Cockroach walks, that I understand a little more about why it walks, and that I have plenty of things left to try.
And yes, the name is staying.
First published on LinkedIn, 12 October 2026.